PIC12F508、PIC12F509、PIC16F505、PIC16F54、PIC16F57
and PIC12F509/SN(SOIC)
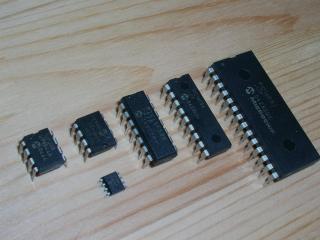
The microchip released new 12 bit core PIC micro controllers which have flash memory in the new baseline series.There are PIC12F508, PIC12F509, PIC16F505, PIC16F54, and PIC16F57 at now.
PIC12F508、PIC12F509、PIC16F505、PIC16F54、PIC16F57
and PIC12F509/SN(SOIC)
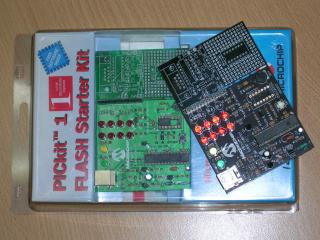
For programming these devices, MPLAB IDE that is the integrated development environment, PICSTART-Plus, MPLAB-PM3, MPLAB-ICD2, PICkit1, and BFMP, etc. are required as development tools (Please refer to Erarta when you use MPLAB IDE version 6.61 or earlier version).
|
PICkit1
|
BFMP
|
|
 |
 |
|
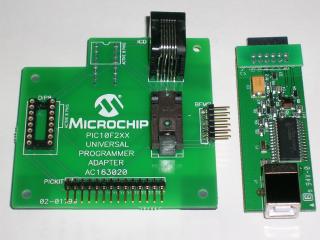
| PICkit1 FLASH Starter Kit | PROGRAMMER ADAPTER( for PIC10F2xx) and BFMP(Baseline Flash Microcontroller Programmer) |
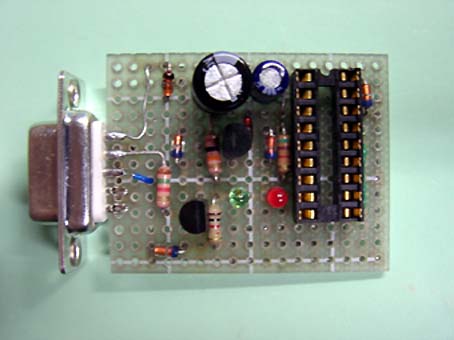
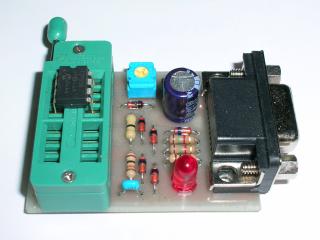
I have PICSTART PLUS, PICkit1, and BFMP. Especially, PICkit1 and BFMP are low cost USB PIC programmer for these devices. If your personal computer has only the USB interface, I recommend you to use these programmers. However, it might be not useless that I show an another cheaper way is here. You can program these devices by using IC-Prog if you built a JDM Programmer or a RCD Programmer. IC-Prog has not supported PIC12Fxx yet (latest version, 1.05D). But you can program these devices by using IC-Prog.
|
|
||||||||
The first step to programming
The most important thing is that the internal oscillator calibration value must be read prior to programming or erasing the device and restored. The oscillator calibration value is already written into the last location of program memory when the factory shipped devices. The form is "CXX"(hexadecimal). "C" is a instruction "MOVLW"(MOVe Literal to W), and XX is the calibration value.
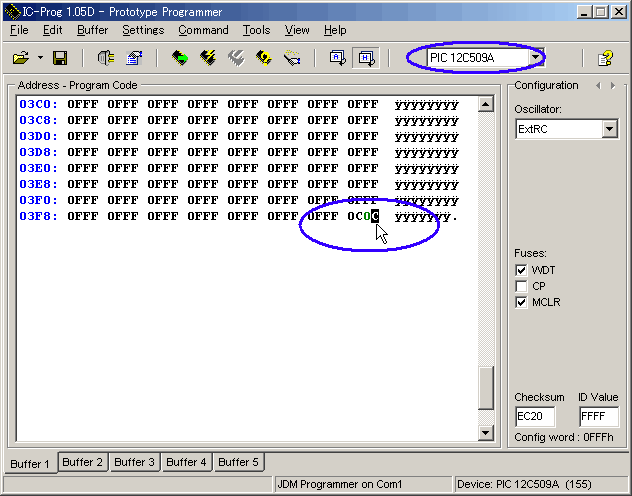
To read the oscillator calibration value from PIC12F508, select PIC12C509A in the device settings menu of IC-Prog. Thus, to read the oscillator calibration value from PIC12F508, select PIC12C509A in the device settings menu of IC-Prog. Please read and take notes of this value.
|
Example of 12F508
|
 |
|
In this example, the oscillator calibration value is "FE"
|
|
Example of 12F509
|
 |
|
In this example, the oscillator calibration value is "0C"
|
Program
For program PIC12F508/509, select PIC12C508A/509A in the device settings menu of IC-Prog. The program code and configuration word are written into the device well, though the programming algorithm is different in OTP and FLASH.
Note: Erase the device by the following method before try re-program!
Note: When you use RCD Programmer, you might meet the "Verify failed at address xxxxh !" error message. It is because RCD Programmer doesn't correspond to "Overwrite" algorithm for the OTP devices like PIC12C509A. Therefore, the voltage of Vpp drops down by the programming of only tens of words. To program the code that exceeds tens of words, you may do as follows.
Choose Settings > Options > Programming Tab.
Disable the Verifiy after programming option, and enable the Verify during programming option.
Excute Programming All command. Then, the programming ends automatically at the address of the Verify error.
Excute Programming All again. Then, the programming will be continued from the address of the Verify failed.
Repeat those operations to the end of program code.
If the "Verify failed"message is displayed at the address of the config-memory, excute Program Config command.
|
Example of 12F509
|
 |
 |
|
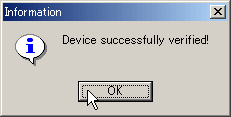
12F509 executes the program, and operates normally. |
Erase
To erase PIC12F508/509, select PIC16F84A in the device settings menu of IC-Prog. The "erase" serial command as which 16F84A is the same is used.
|
Example of 12F509
|
 |
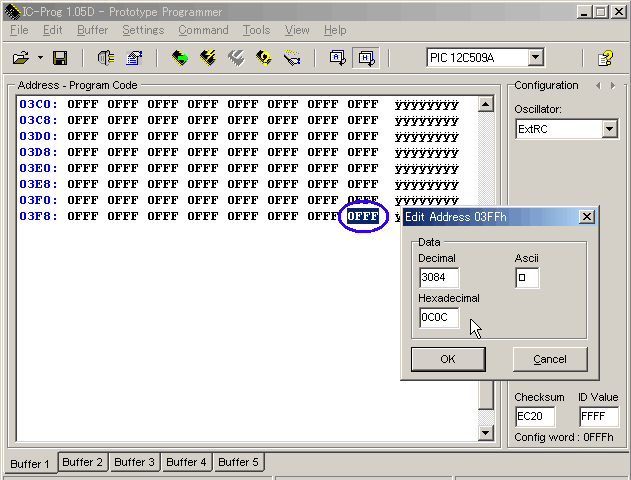
Restore OSCCAL value
To restore the oscillator calibration value, select PIC12C508A/509A the device settings menu of IC-Prog.
Click last location of program memory area, then type "C" and the oscillator calibration value "XX".The cursor automatically returns to location 00h when you enter the last digit.
|
Example of 12F509
|
 |
|
In this example, the oscillator calibration value is "0C"
|
This method can be used, too. Double click last location of program memory area, then type "0C" and the oscillator calibration value "XX" into the edit window.
|
Example of 12F509
|
 |
|
In this example, the oscillator calibration value is "0C"
|
Execute "Program All"command. Then the oscillator calibration value will be programed into the device.
|
Example of 12F509
|
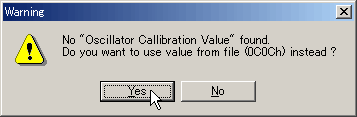 |
| In this example, the oscillator calibration value is "0C". Click on "Yes"button. |
|
Example of 12F509
|
 |
| The oscillator calibration value was restored. |
Now, your PIC12F509/509 returned to the "blank" state with the oscillator calibration value.
[HOME]
2005-11-11 JST